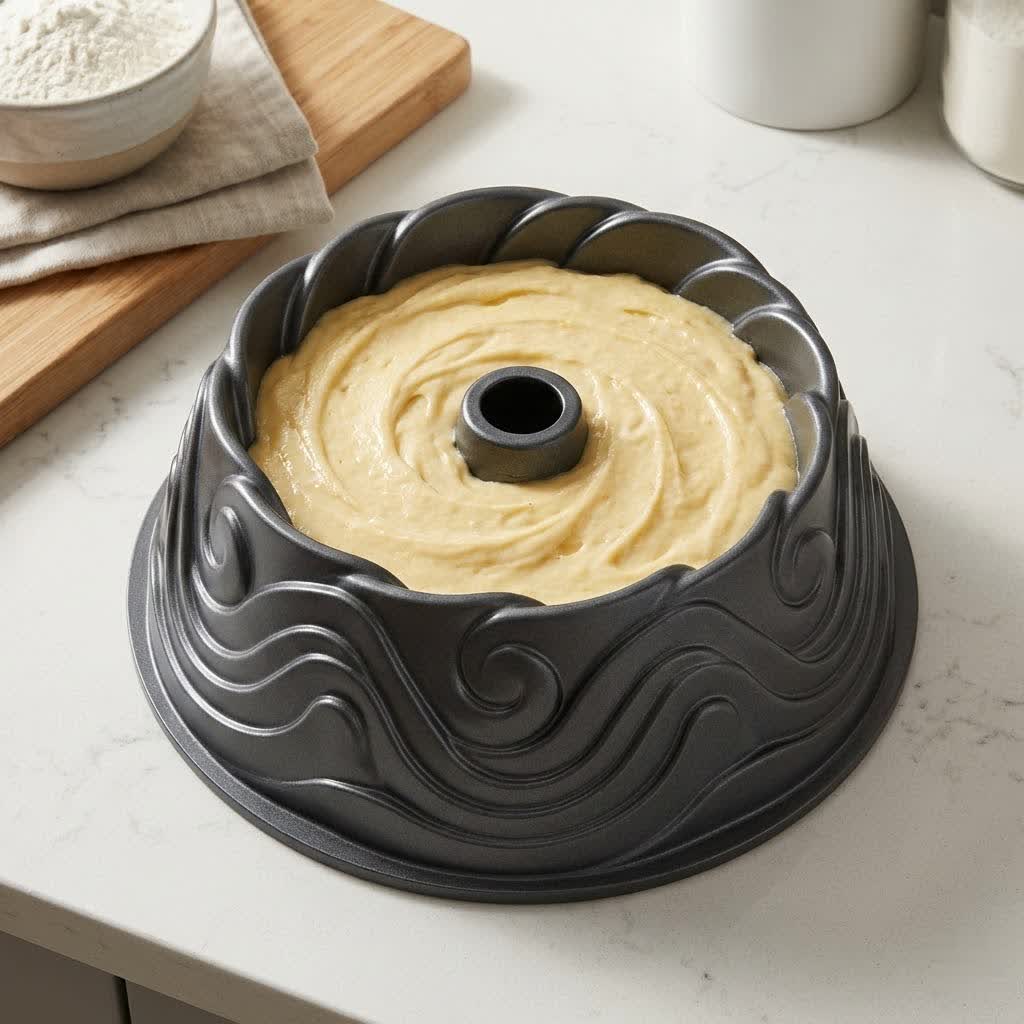
Discovering a beautiful vintage cast iron baking mold can feel like unearthing a culinary treasure. Whether inherited from a grandparent or found at an antique market, these sturdy pieces of bakeware hold a unique charm and historical value. However, time and neglect often leave them with an unwelcome orange coating: rust. Many believe a rusty mold is beyond salvation, but with the right approach, you can safely and effectively restore your vintage cast iron molds to their former glory, making them ready for baking delicious treats once again. This guide will walk you through the essential steps, from understanding why rust forms to expert techniques for removal and crucial re-seasoning.
Why Do Vintage Cast Iron Molds Rust?
Cast iron, by its very nature, is susceptible to rust. This reddish-brown oxidation occurs when iron is exposed to oxygen and moisture over time. Unlike modern non-stick bakeware, cast iron relies on a polymerized oil layer, known as seasoning, to create a protective, non-stick surface and prevent corrosion. When this seasoning is compromised, the bare iron becomes vulnerable. Common culprits for rust on vintage cast iron molds include improper drying after washing, storage in humid environments, prolonged contact with water, or using harsh soaps that strip away the seasoning. Acidic foods, if cooked frequently without proper re-seasoning, can also erode the protective layer, leaving the iron exposed.
Essential Tools for Rust Removal
Tackling rust requires a few key tools and ingredients, most of which you likely already have in your home. Having these ready will streamline the restoration process.
- Abrasive Scrubbers: For effective rust removal, you’ll need tools that can gently yet firmly scour away corrosion without damaging the underlying iron.
- Steel wool: Effective for tougher rust spots.
- Stiff-bristled brushes or scouring pads: Ideal for general scrubbing.
- Lodge Rust Eraser (optional): A specialized tool designed for cast iron.
- Cleaning Agents: These common household items are powerful allies against rust.
- Distilled white vinegar: A mild acid that breaks down rust.
- Baking soda: A gentle abrasive and deodorizer.
- Dish soap: Helps to cut through grease and grime.
- Coarse salt (e.g., kosher or sea salt): Provides abrasive power.
- Other Supplies:
- Large tub or bucket: For soaking larger molds.
- Paper towels or lint-free cloths: For drying and oiling.
- High smoke point cooking oil: Such as grapeseed, flaxseed, vegetable oil, or solid vegetable shortening for re-seasoning.
Step-by-Step Guide to Removing Rust from Cast Iron Molds
Restoring a rusty cast iron mold is a methodical process. The severity of the rust will determine which method you should employ.
Phase 1: Assessing the Rust
Before you begin, examine your mold closely.
- Mild Surface Rust: Appears as light orange discoloration and can often be removed with simple scrubbing.
- Moderate Rust: Presents as more widespread, flaky orange patches that require a bit more effort.
- Severe Rust: Characterized by thick, persistent rust layers or even pitting in the iron. This demands a more intensive approach.
|
Our Picks for the Best Baking mold in 2026
As an Amazon Associate I earn from qualifying purchases.
|
||
| Num | Product | Action |
|---|---|---|
| 1 | O’Creme Bakeable Plastic Mini Cake Pan & Jello Mold – Non-Stick Silicone Baking Pan – Reusable Mold For Baking, Desserts and More – 25 QTY Pack |

|
| 2 | RFAQK 100pcs Cake Pan Sets for Baking + Cake Decorating Supplies: 3 Non-Stick Springform Pans Set (4, 7, 9 inches), Icing Tips, Cake Leveler – Multi-functional Leak-Proof CheeseCake Pan & eBook |
|
| 3 | Novery 9.5" Non-stick Cake Pan, Heavy Duty Carbon Steel Fluted Tube Round Baking Pan,Buntz Pound Cake Pan Mold,Tube Bakeware,Baking Mold for Jello,Gelatin,Chocoflan,Flan |
|
| 4 | Amazon Basics Rectangular Nonstick Bread Loaf Pan for Baking Meatloaf with Even Heat Distribution, 9.5 x 5 Inch, Gray, Set of 2 |
|
| 5 | Palksky (2 Pcs) 8 Cavity Rectangle Granola Bar Silicone Mold/Nutrition/Cereal Bar Molds Energy Bar Maker for Chocolate Truffles Ganache Bread Brownie Cornbread Cheesecake Pudding Butter Mould |
|
| 6 | Chicago Metallic Professional 3-Piece Round Cake Pan Set - 6, 8, and 10 Inch Nonstick Carbon Steel Baking Pans, 2 Inches Deep, for Layered Celebration Cakes and Tiered Desserts |
|
| 7 | HIWARE 9 Inch Non-stick Cheesecake Pan Springform Pan with Removable Bottom/Leakproof - Black |
|
| 8 | CAKETIME 12 Cups Silicone Muffin Pan - Nonstick Cupcake Pan 1 Pack Regular Size Silicone Mold for Baking |
|
| 9 | Amazon Basics Nonstick Muffin Pan, Set of 2, Sturdy, Oven Safe, Bakes Evenly, Easy to Clean, 12 Cups, Gray, 13.9x10.55x1.22" |
|
| 10 | Vinino Silicone Mini Loaf Pans with Metal Reinforced Frame-2 Pack, Non-stick Silicone Bread Pan for Baking 8-Cavity, Tiny Banana Bread Set, Dishwasher Safe Brownie Pan-Cream |
|
Phase 2: Rust Removal Methods
Start with the gentlest method first and progress to more intensive ones if needed.
For Mild Surface Rust: Scrubbing with Abrasives
For light rust, a good scrub might be all you need.
- Scrub with Soap and Abrasives: Using warm water, dish soap, and a steel wool pad or stiff brush, vigorously scrub the rusted areas. Don’t be afraid to use some elbow grease, as any existing seasoning will be removed in this process anyway.
- Try Coarse Salt: Sprinkle a generous amount of coarse salt into the mold. Add a small amount of warm water to create a paste, then scrub with a potato half (cut side down) or a stiff brush. The abrasive salt helps to lift the rust.
For Moderate Rust: The Baking Soda Paste Method
Baking soda offers a gentle yet effective way to tackle more stubborn rust.
- Prepare the Paste: Sprinkle baking soda generously over the rusty parts of your mold. You can then pour a little dish soap over the baking soda and add a small amount of water to create a thick paste.
- Scrub Gently: Using a non-scratch sponge or soft brush, gently scrub the areas covered in the paste. The mild abrasive action of the baking soda, combined with the fizzing reaction if vinegar is added, helps to loosen the rust.
- Rinse and Dry: Rinse the mold thoroughly under running water, ensuring all paste and rust particles are removed.
For Severe Rust: The Vinegar Soak Method
For very rusty molds, a vinegar bath can work wonders, but caution is key to avoid damaging the iron.
- Prepare the Solution: Mix distilled white vinegar and warm water in a 1:1 ratio in a large tub or bucket. Ensure there’s enough solution to fully submerge your cast iron mold.
- Soak the Mold: Carefully place the rusty mold into the vinegar solution.
- Monitor Closely: Check the mold every 15-30 minutes. You should start to see the rust flaking off. Do not leave the mold in the vinegar for more than 1-2 hours, and definitely not longer than 8 hours, as the acid can begin to etch the iron itself if left too long.
- Scrub and Clean: Once the rust begins to loosen, remove the mold from the solution, rinse with warm water, and scrub any remaining rust with dish soap and a stiff brush or steel wool.
- Rinse and Dry: Rinse thoroughly to remove all traces of vinegar and soap.
Phase 3: Thorough Drying
This step is critical after any rust removal method to prevent immediate re-rusting.
- Towel Dry: Use a clean, lint-free cloth or paper towels to thoroughly dry the mold.
- Heat Dry: Place the mold on your stovetop over medium-low heat for about 5-10 minutes. This evaporates any lingering moisture from the porous cast iron that towel drying might miss.
Re-Seasoning Your Restored Cast Iron Mold
After successfully removing rust, re-seasoning is the most vital step. It creates a protective, non-stick surface and prevents future rust.
Why Re-Seasoning is Crucial
Seasoning is a layer of polymerized oil that bonds to the cast iron surface. It’s what gives cast iron its natural non-stick properties and acts as a barrier against moisture and oxygen, which cause rust. Rust removal processes strip away this layer, so rebuilding it is essential for the mold’s functionality and longevity.
Best Oils for Seasoning
Choose an oil with a high smoke point (the temperature at which it starts to smoke) to ensure proper polymerization.
- Recommended: Grapeseed oil, flaxseed oil, vegetable oil, or solid vegetable shortening (like Crisco).
- Caution: While lard or bacon grease can be used, they can become rancid if the mold is stored for long periods.
Step-by-Step Re-Seasoning Process
- Preheat Oven: Preheat your oven to 400-450°F (200-230°C).
- Apply a Thin Oil Layer: Once the mold is completely dry and cool, apply a very thin layer of your chosen high smoke point oil to all surfaces of the mold—inside, outside, and handles. Use a paper towel to wipe off as much excess oil as possible; the goal is a barely visible layer. Too much oil will result in a sticky, gummy surface.
- Bake Upside Down: Place the mold upside down on the center rack of your preheated oven. Place a baking sheet or aluminum foil on the rack below to catch any oil drips.
- Bake and Cool: Bake for 1 hour. After an hour, turn off the oven and allow the cast iron mold to cool completely inside the oven. This helps the seasoning to cure and adhere properly.
- Repeat for Best Results: For a strong, durable seasoning, repeat the oiling and baking process 2-3 more times. The more layers of seasoning, the better the protection and non-stick performance.
Preventing Future Rust on Your Vintage Cast Iron Molds
Once your vintage cast iron mold is beautifully restored and seasoned, proactive care is essential to keep rust at bay.
- Immediate and Thorough Drying: Never let your cast iron air dry. After washing, immediately towel dry and then place it on a warm burner for a few minutes to ensure all moisture evaporates.
- Light Oiling After Each Use: After drying, apply a very thin layer of cooking oil to the entire mold before storing. This adds another protective layer.
- Proper Storage: Store your cast iron molds in a dry environment. Avoid damp basements or areas prone to humidity. While wrapping in brown craft paper is acceptable for long-term storage, avoid plastic wrap, which can trap moisture. If storing in a humid area, consider an extra-large Ziploc bag with silica gel packets to absorb moisture.
- Minimize Acidic Foods: Cooking highly acidic foods (like tomato sauce) can strip seasoning. If you do, ensure you re-oil and potentially re-season more frequently.
- Regular Use: The more you use your cast iron mold, the more layers of seasoning it builds, making it more resilient to rust.
Buying Guide: What to Consider When Restoring Vintage Cast Iron Molds
Bringing a vintage cast iron mold back to life is a rewarding endeavor. Here’s what to look for and keep in mind when acquiring one for restoration:
- Assess the Severity of Rust: While surface rust is generally easy to remove, deep pitting in the iron can indicate irreversible damage. Minor pitting might be corrected with multiple seasoning layers, but significant pitting could render the mold unusable for baking.
- Consider the History and Value: Vintage molds often have intricate designs and historical significance. A successful restoration not only makes them functional but also preserves a piece of culinary heritage.
- Commitment to Care: Understand that cast iron requires ongoing maintenance. If you’re willing to commit to proper cleaning, drying, and seasoning, a vintage mold is a worthwhile investment.
- Food Safety: Always ensure that all rust has been completely removed and the mold has been thoroughly seasoned before using it for food. This guarantees that your baked goods are safe and taste their best.
- Tools and Resources: Before taking on a heavily rusted piece, ensure you have the necessary tools and the time to dedicate to the restoration process.
“Restoring a vintage cast iron mold isn’t just about cleaning; it’s about reviving history and creating a lasting tool for your kitchen.”
Conclusion
Restoring a rusty vintage cast iron baking mold might seem daunting, but it’s a deeply satisfying process that yields a durable, beautiful, and functional piece of bakeware. By understanding the causes of rust, employing the right removal techniques, and diligently re-seasoning and maintaining your mold, you can ensure it serves you for many more decades. Embrace the journey of bringing these culinary heirlooms back to life, and enjoy the delicious results they’ll help you create.
Do you have a favorite vintage cast iron mold you’ve brought back from the brink of rust? Share your stories!
Frequently Asked Questions
Is it safe to cook in a rusty cast iron mold?
No, it is not safe to cook in a rusty cast iron mold. While ingesting small amounts of rust is generally not harmful, it can impart an unpleasant metallic taste to your food. More importantly, rust can be a sign of deeper corrosion that could affect the structural integrity of the mold and harbor bacteria. Always remove all rust and properly re-season your mold before use.
How often should I re-season my cast iron mold?
After a full rust removal, you should re-season your cast iron mold immediately with 2-3 layers of oil. For general maintenance, re-seasoning is recommended whenever you notice food sticking, the surface appearing dull or dry, or if you’ve cooked highly acidic foods. Regular light oiling after each wash can often keep the seasoning strong for longer periods between full re-seasoning cycles.